Step-by-step SAP LSMW User Guide
Last time we discussed SAP Step-by-step LSMW Developer Guide, which you can find here Step-by-step SAP LSMW Developer Guide
Today let’s have a look at the User Guide.
Basics
LSMW is a standard SAP tool to do any kind of mass data changes.
In 99% cases, we use Batch Recording which works like macros in MS Excel/Word. The system follows user’s steps, recording screen by screen. Once done we map data file to these screens and data fields. Than system repeats the same steps like the user would be doing manually.
Organizing LSMW projects
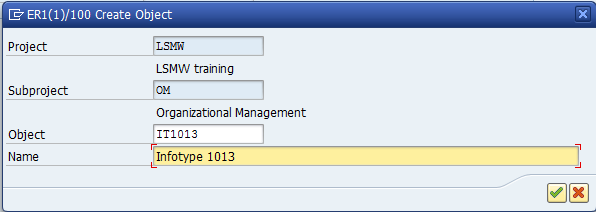
In LSMW transaction we have projects, subprojects, and objects.
Ideally, there should be one global project for routine updates, one for data migration.
The subproject is something meaningful, like OM, PA, PT, and PY for different HR areas. Or it could be one subproject for all infotypes, no matter.
An object usually represents what’s being changed: infotype, table or something else.
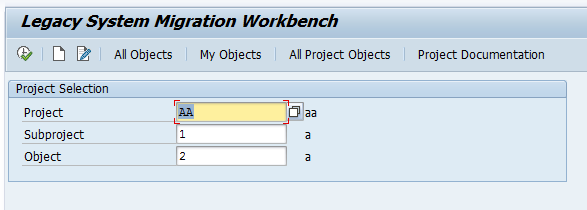
To start we need to choose from all three entities: project, subproject, object.
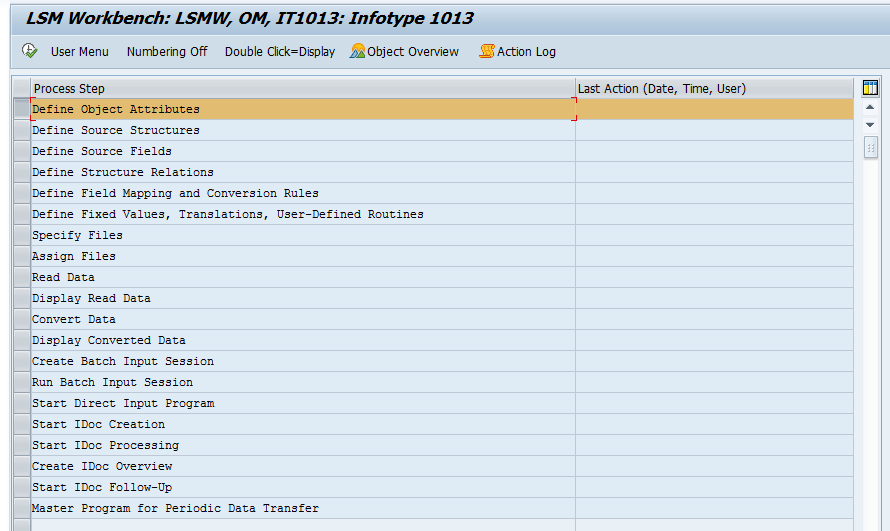
Here is the main LSMW window. Steps “Define Object Attributes” to “Assign Files” are settings, other for execution for the end-user.
